
Woodinville Exterior Restoration
★★★★★ 100+ 5-Star Reviews
Licensed & Insured
Free Estimates
Request a Restoration Estimate
Request a restoration estimate
Google Reviews • 5.0 Rating
Read all Google Reviews
What restoration solves
Exterior wear can show up as failing siding, soft trim, leaking transitions, damaged deck edges, or water-stained surfaces. These signs often connect to deeper moisture paths.
How we approach it
We look at the full exterior assembly — not only the finish surface — so repairs support proper drainage, water management, and long-term performance.
Why it matters
A restored exterior protects curb appeal, structural integrity, and the materials behind the finish. Done properly, it helps prevent small failures from becoming larger repairs.
Project proof
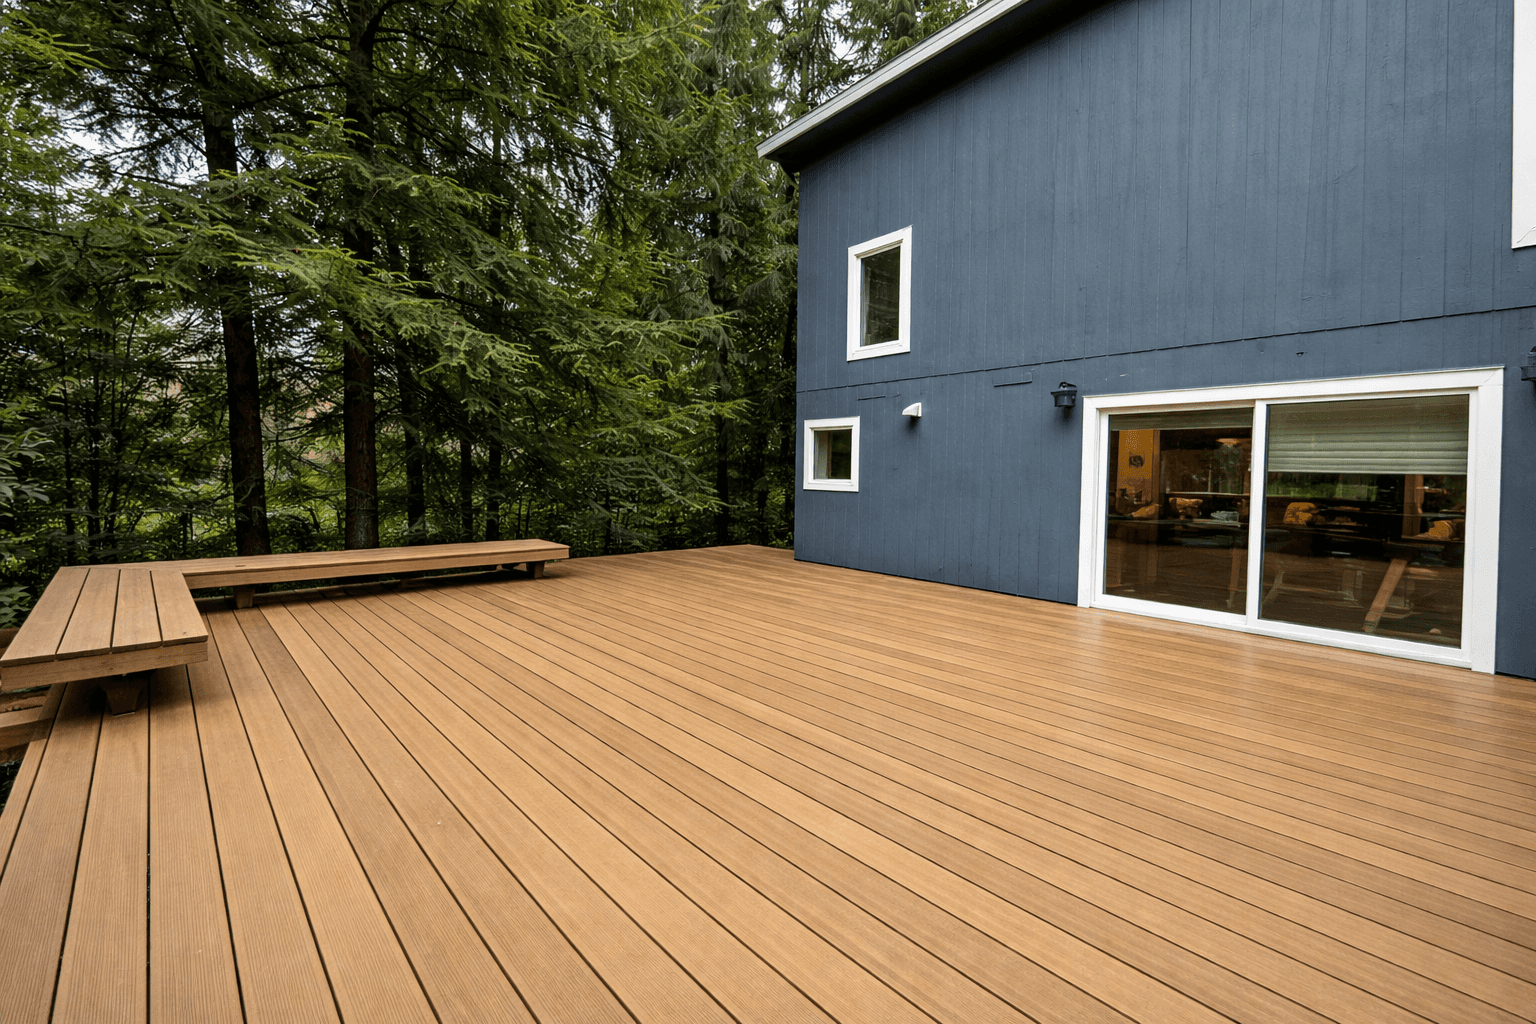
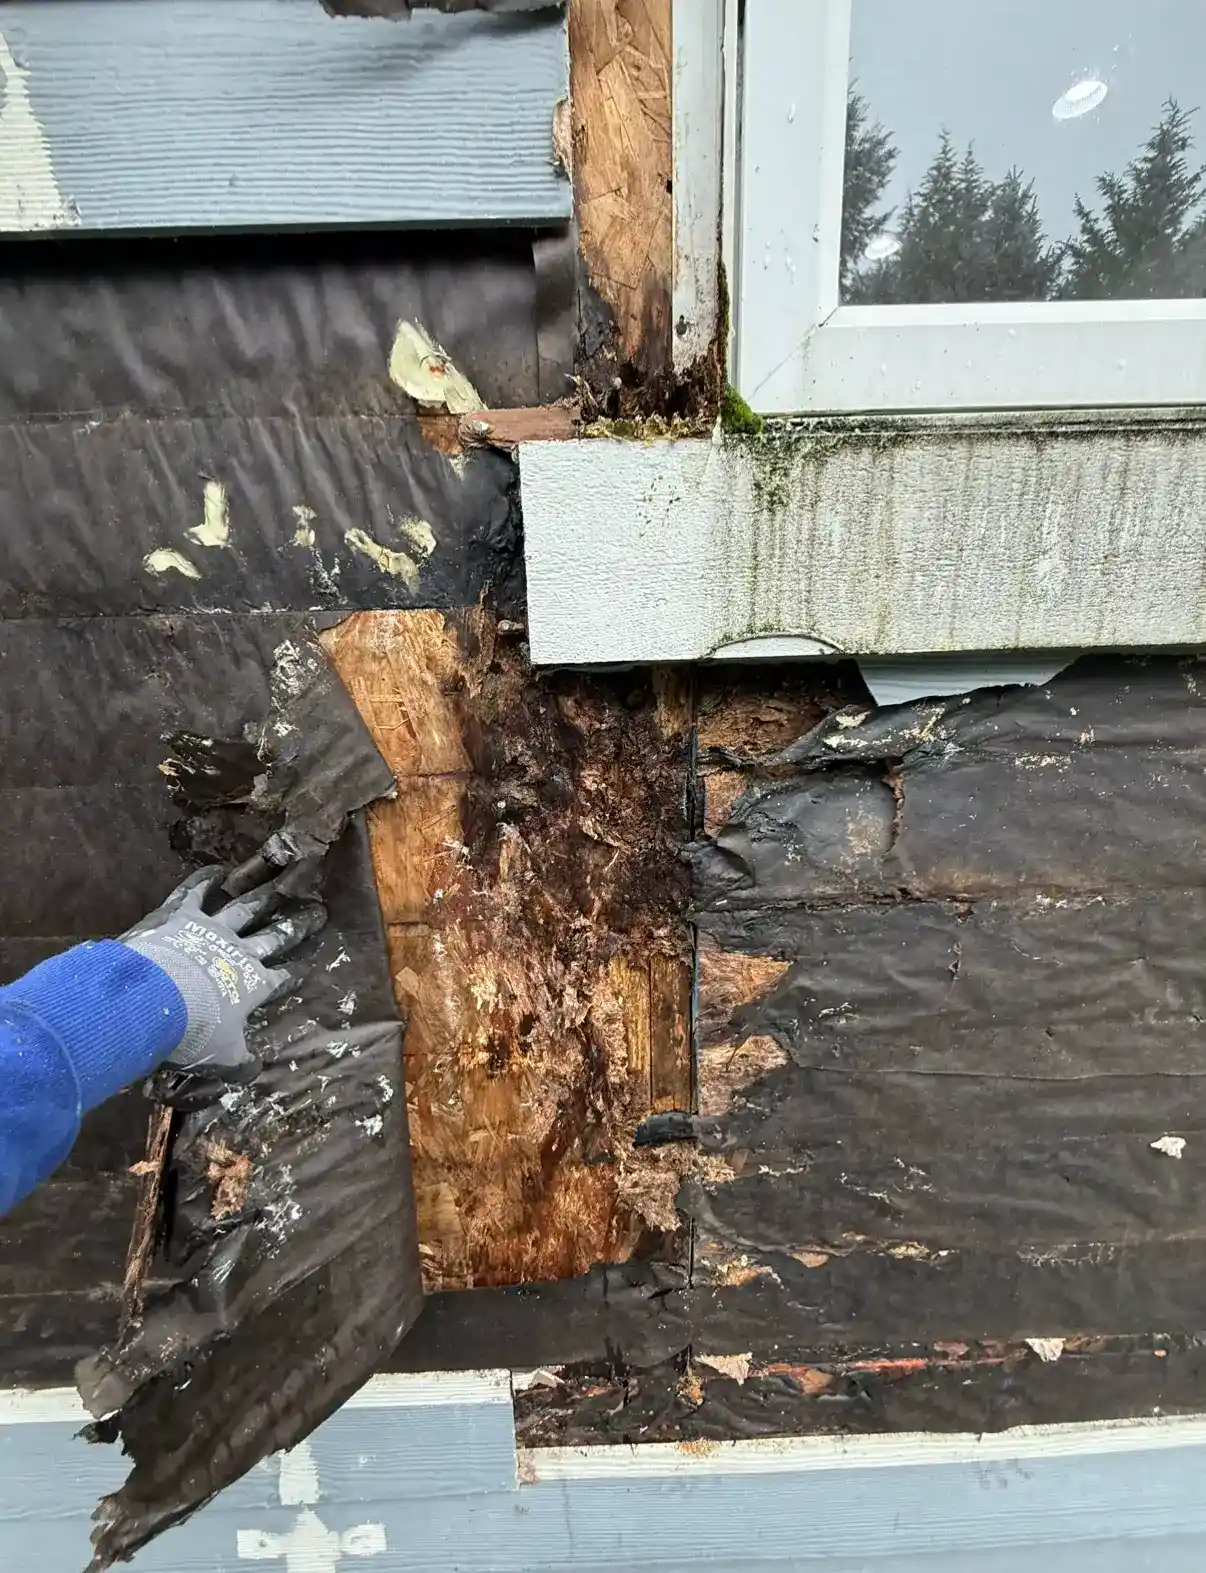
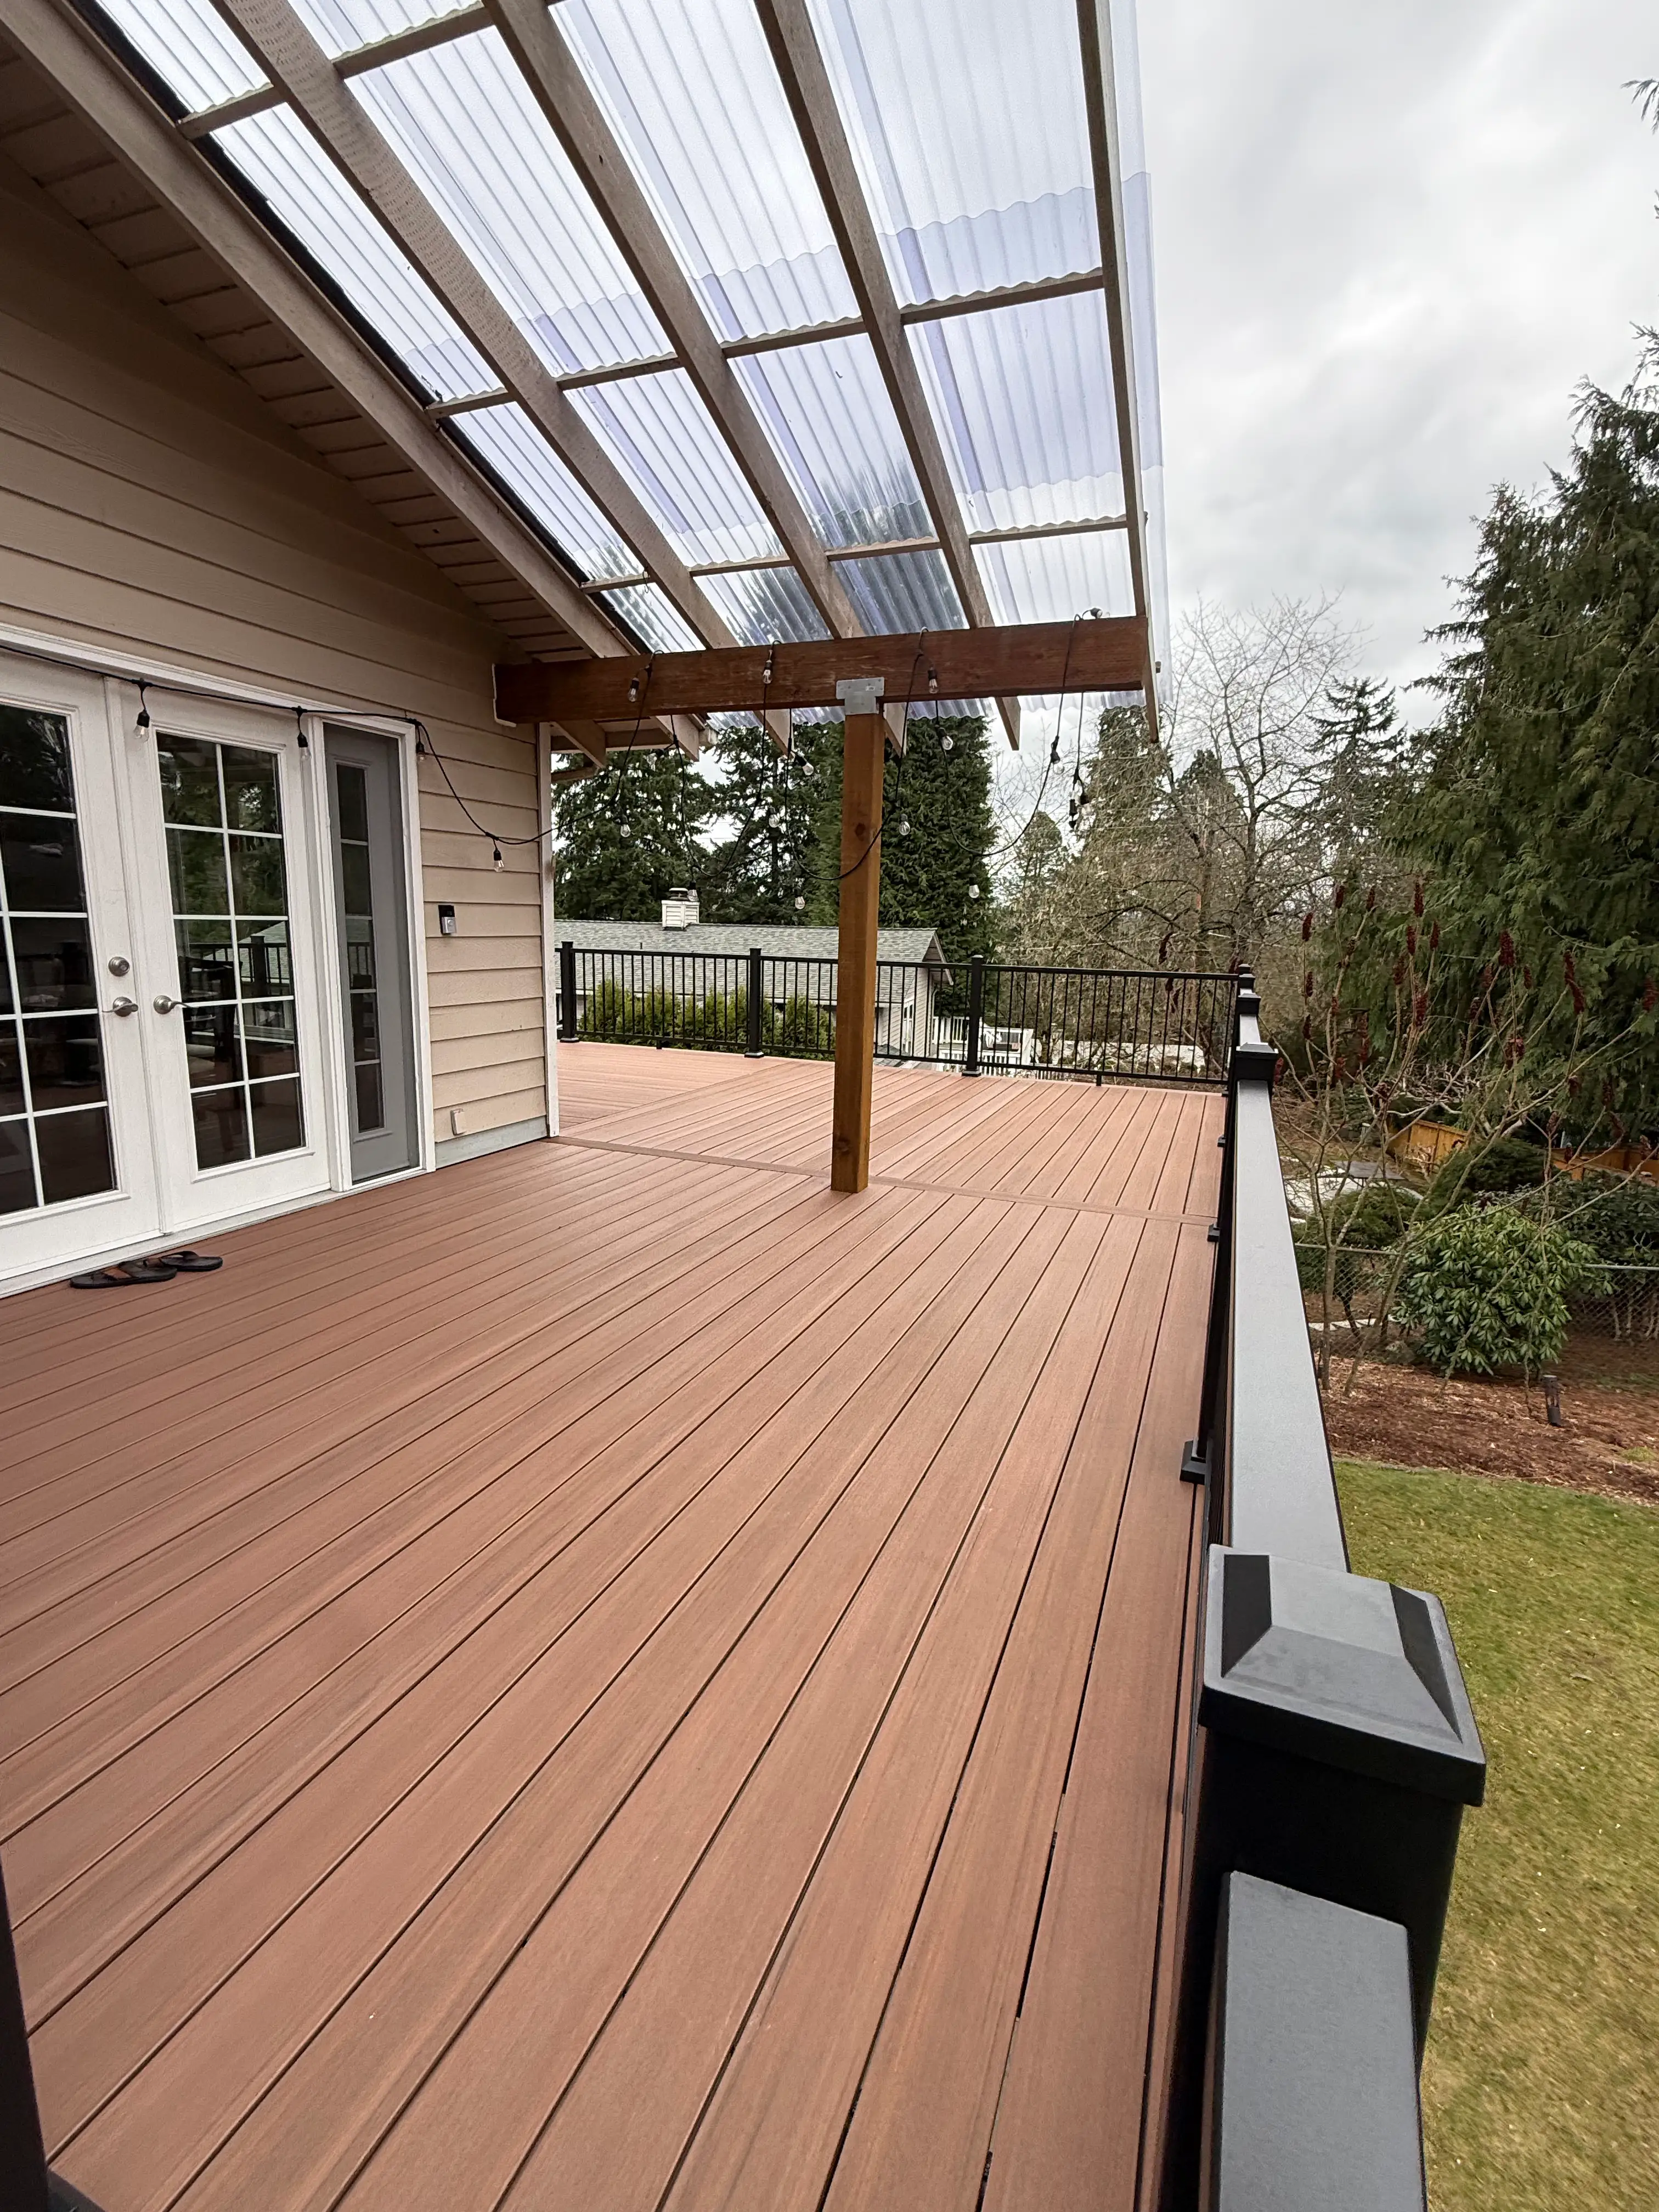
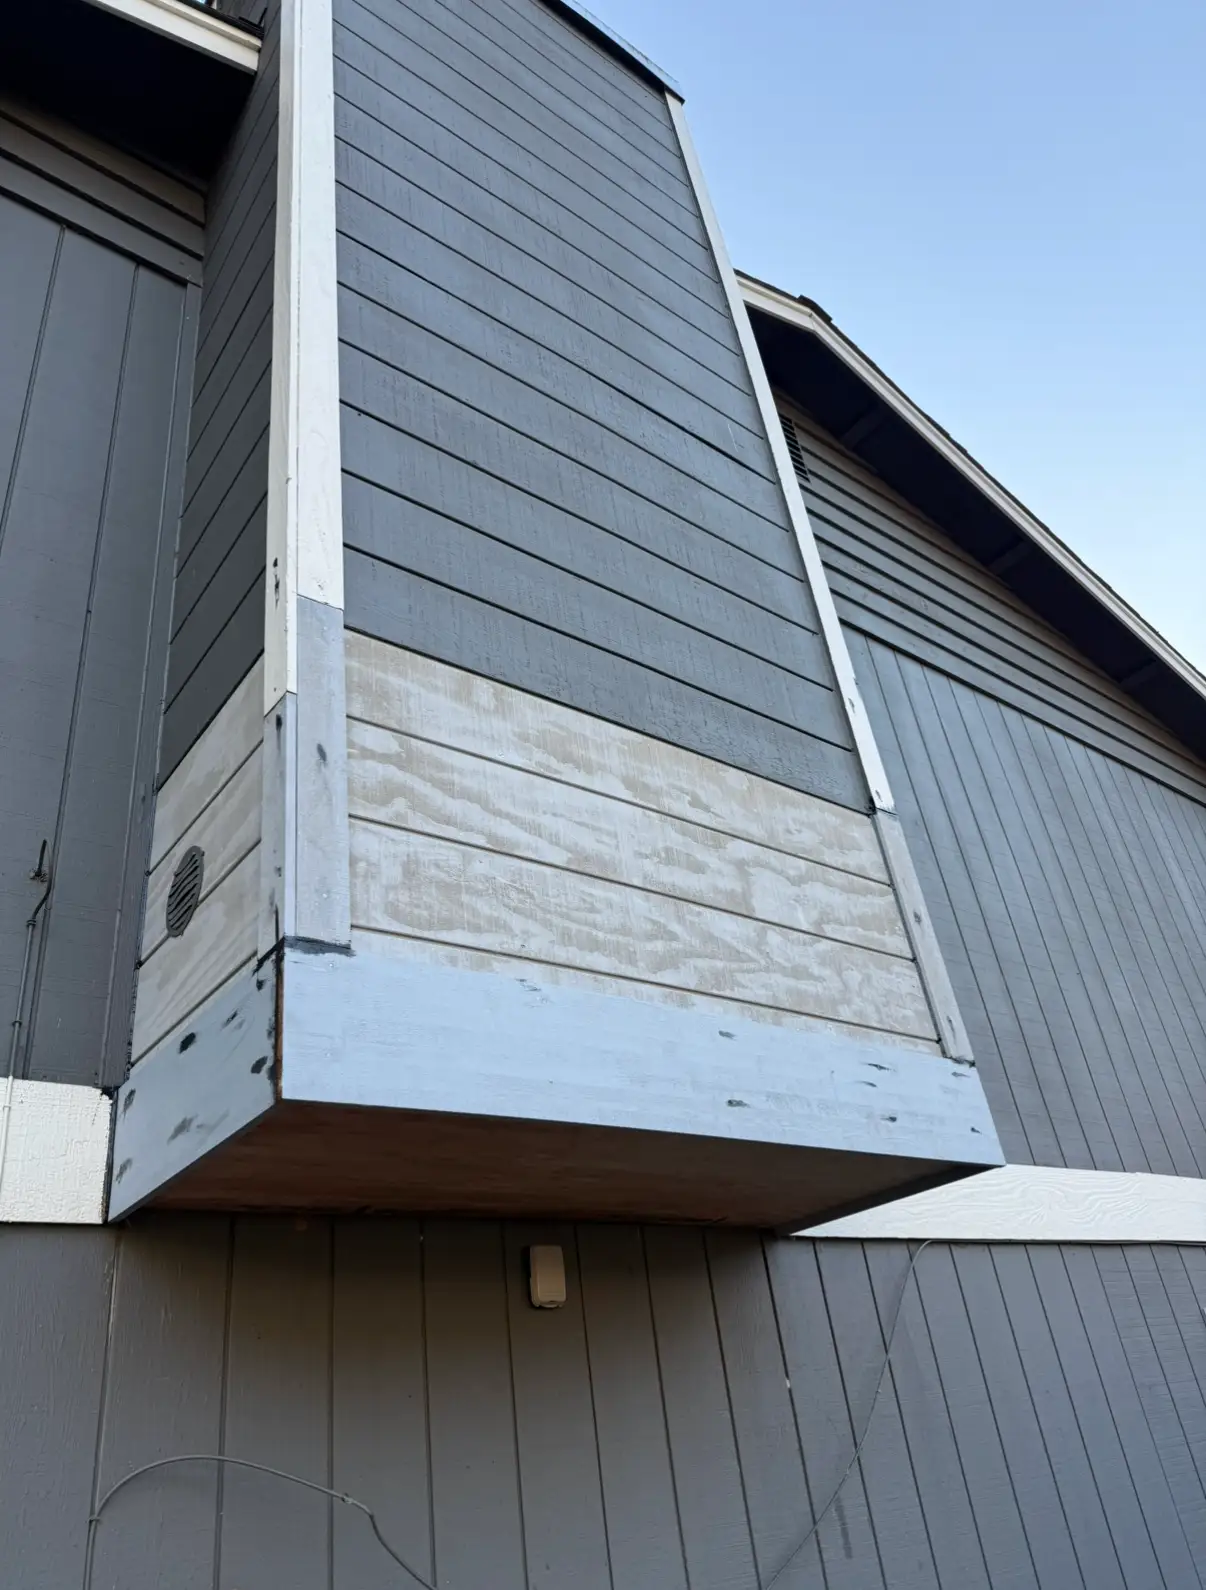
Real project context
Exterior restoration should protect what is behind the finish
Our exterior restoration process
01
Inspect the exterior
We look at siding, trim, deck edges, flashing transitions, and visible moisture indicators before recommending a repair path.
02
Find the moisture path
Exterior damage often repeats when the water source is missed. We consider seams, penetrations, drainage, and weather exposure.
03
Repair the assembly
Compromised materials are repaired or replaced so the finished surface has a sound exterior system behind it.
04
Protect the finish
The final details should help move water away from the repair area and protect the surrounding surfaces.
Moisture-aware repairs
We look for how water entered and where it traveled so restoration work supports long-term performance.
Assembly-level thinking
Exterior surfaces, trim, siding, flashing, and deck edges all work together. Our repair planning accounts for those connections.
Clear repair recommendations
You get a practical explanation of what is damaged, what should be repaired, and why the repair matters.
Common warning signs
Soft trim, bubbling paint, open seams, warped siding, stained corners, loose deck edges, and recurring leaks are all worth inspecting before moisture spreads.
Mistakes to avoid
Caulking over a leak, painting over swollen wood, or replacing only the visible piece can hide damage without fixing the moisture path that caused it.
Maintenance tip
Keep gutters, deck transitions, siding joints, and trim edges clear and visible. Small seasonal checks can catch moisture issues before they become structural repairs.
Repair may be enough when…
The damage is localized, surrounding material is sound, and the moisture source can be corrected without opening a much larger section of the exterior.
Replacement may be smarter when…
Multiple areas are failing, the exterior assembly has widespread moisture damage, or a previous patch has already failed because the underlying issue was never corrected.
Inspection prevents guesswork
The right recommendation depends on what is happening behind the surface. That is why we focus on diagnosing moisture intrusion before describing the repair scope.
How do I know if exterior damage is only cosmetic?
If siding, trim, or deck edges are soft, swollen, stained, or repeatedly failing, there may be moisture damage behind the surface.
Can restoration include siding, trim, and deck edges?
Yes. Exterior restoration can involve multiple connected parts of the home when moisture or weather damage affects more than one surface.
What causes exterior trim and siding to fail repeatedly?
Repeated failure usually means moisture is reaching the same area again. The source may be flashing, drainage, a deck transition, an open seam, or a horizontal surface holding water.
Should I repair the exterior now or wait until summer?
If you see softness, swelling, staining, or active leaks, it is better to inspect the issue early. Waiting can allow water to move farther into surrounding materials.
Does exterior restoration include waterproofing details?
Often, yes. Proper restoration may involve correcting transitions, sealing details, drainage paths, or flashing conditions that allowed moisture to enter.
